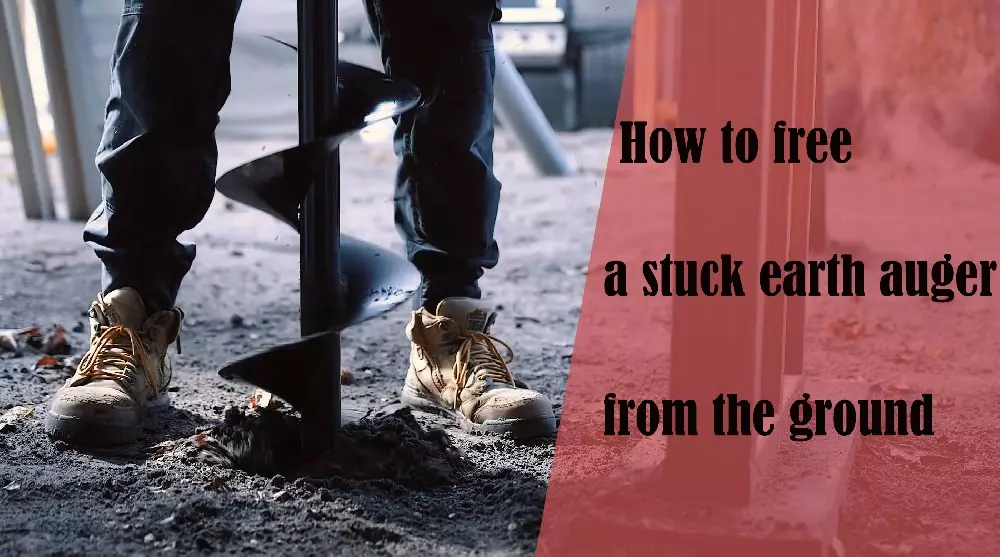
How to free a stuck earth auger from the ground?
2024-08-06
Table of content
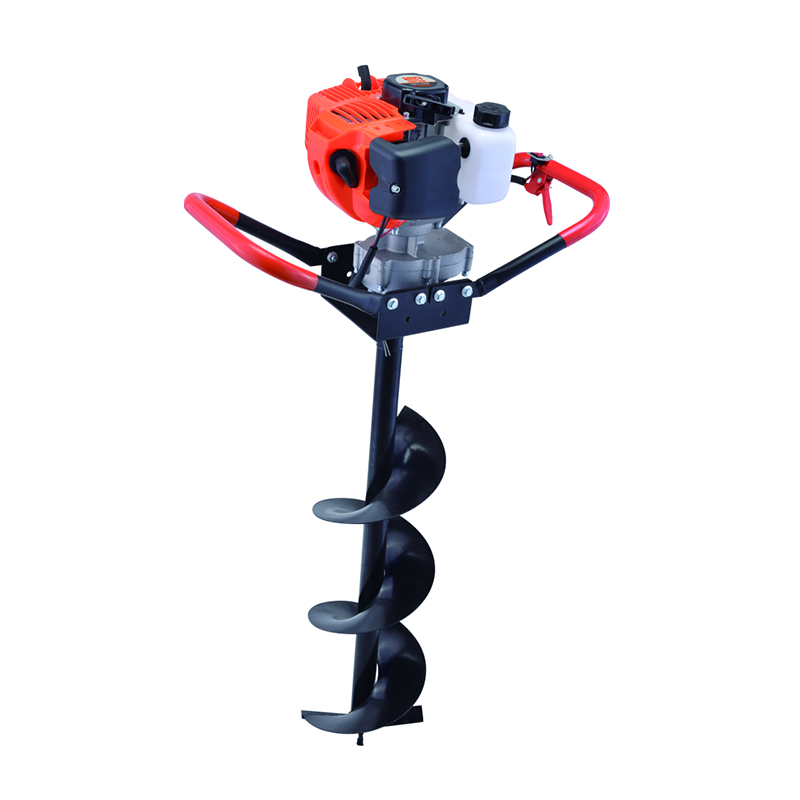
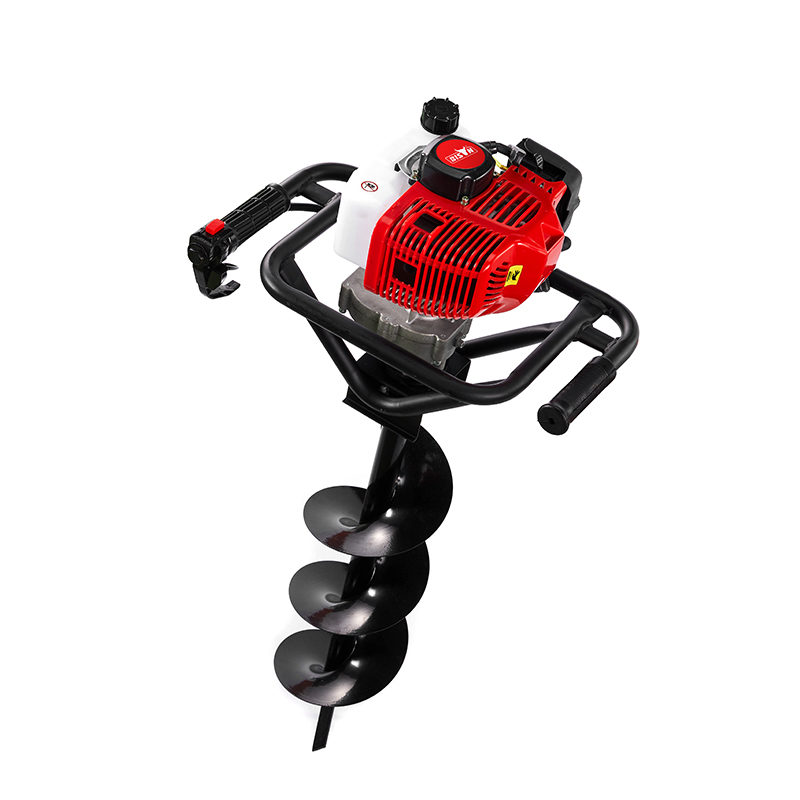
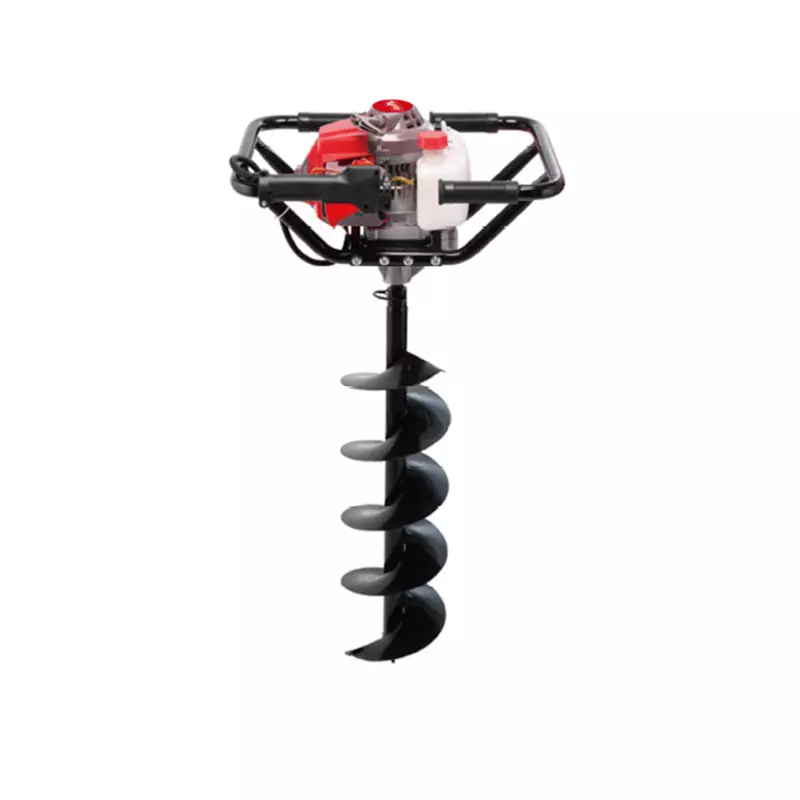
Earth auger is a specialized tool used primarily for drilling into the ground, whether it be for soil sampling, planting, construction, or even ice fishing. Augers are usually powered by electricity or gasoline, employing a mechanical or manual auger bit and handle, it digs precise holes quickly and efficiently. However, like any tool used in challenging environments, an earth auger can become stuck.
This happens because the earth auger hits something solid and cannot move forward. If not handled carefully, it may hinder the construction progress, delay the project timeline, and may lead to expensive repair bills. This article explains what causes an auger to get stuck in the ground, how to free it, and when it's worth calling a professional to ensure your project goes smoothly without risking damage to equipment or compromising safety.
What causes the earth auger to get stuck?
Understanding why an earth auger gets stuck is the first step to getting it free without causing any damage to it. There are several common causes that can halt the progress of an auger:
Obstructions: The most frequent culprits are stone, metal, concrete, and other underground obstructions encountered during drilling. These physical obstructions can get the auger stuck, preventing it from turning and digging further.
Soil conditions: Different soil types present different challenges. Dense clay, frozen ground, or layers of hardpan can grip an auger more tightly than softer soils such as sand or clay. Once a large amount of soil accumulates around the earth auger teeth, it will prevent the auger teeth from penetrating the surface material of the fixed auger.
Blunt auger tip: Regular use can dull the tip of the earth auger, reducing its effectiveness and increasing the likelihood of it getting stuck as it struggles to penetrate the ground effectively.
Auger design and size: Incorrectly sized soil augers or designs unsuitable for the drilling task can also lead to stuck augers.
Excessive torque: Applying excessive force to the earth auger when turning will damage it and prevent it from unscrewing. Sharp teeth can also break due to this.
Preparation and safety measures before rescuing the auger
1.Preparing a list of necessary safety gear:
Heavy-duty gloves, goggles, heavy-duty shoes, ear protection, hard hat, etc.
2.Tool and manpower requirements
Releasing a stuck earth auger often requires more than brute force. Here are the necessary tools and the manpower needed:
Shovels and picks: These are used to dig around the auger to relieve soil pressure and remove obstructions.
Winch or hoist: For severely stuck augers, mechanical assistance like a winch or hoist may be necessary to exert the force required to pull the auger out.
Leverage bars or pry bars: To apply controlled force to maneuver the auger free.
Additional personnel: The larger the earth auger and the more severely it is stuck, the more additional manpower may be required to operate the tool and ensure safety procedures are followed.
3.assess the site for potential dangers:
Always check for overhead power lines that could pose electrocution risks.
Verify the location of underground utilities like gas, water, and electric lines to avoid damaging them or causing accidents.
Check that the environment around the stuck earth auger is dry and free of loose soil.
Different ways to free a stuck earth auger
This section provides detailed examples of different methods to free a stuck earth auger. These techniques are derived from real-life cases collected by BISON and vary in complexity and technical difficulty. Specially designed by BISON, the later the technique in the following order, the higher the difficulty, the more suitable it is for serious earth auger stuck situations.
Swing and rotate: Start by gently swinging the earth auger handle back and forth while slowly rotating it. This method may help to loosen the auger from the tight soil grip. Tools such as wrenches or levers can provide additional torque and leverage to assist in this process.
Reverse operation: Activating the reverse mode (if you have) can help unwind the auger from the entangled position. Ensure that all personnel are clear of the equipment, as sudden movements can occur.
Lubrication and softening: Applying water or a biodegradable lubricant around the auger can help soften the soil and reduce friction. Pour the liquid slowly around the base of the earth auger to allow it to soak into the soil, making extraction easier.
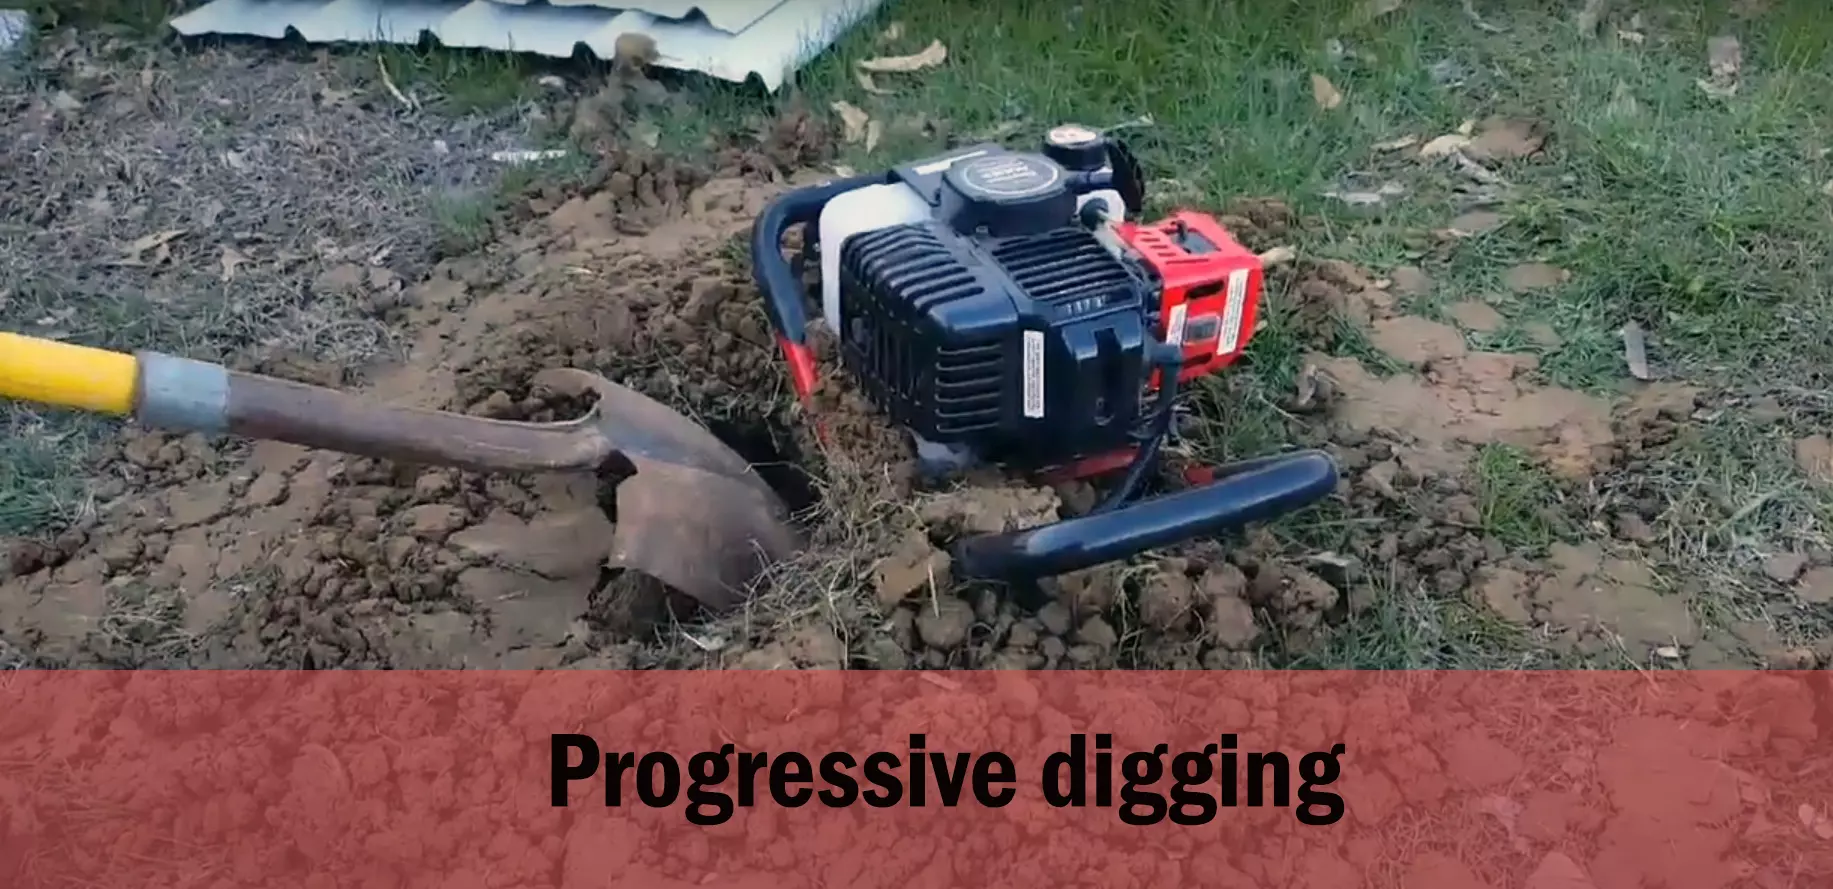
Progressive digging: Carefully dig around the auger with tools like shovels and picks. This will give the auger more room to move freely. But don't put force directly on the earth auger to avoid bending or damaging it.
Jack: Place the jack securely on a stable surface nearby and use it to gradually lift the auger out of the ground. Be careful that the jack is rated for the weight of the auger.
Using a pulley or winch: For extremely stubborn augers, setting up a pulley system or a winch can provide the necessary force for extraction. At this stage, you must ensure that all rigging is secure and that the force applied is gradual to prevent sudden loosening or failure.
Three ways to prevent an auger from getting stuck
1.Watch out for obstacles
Before digging the hole, see if anything sticks out of the ground. If so, you must be careful that the item does not damage or destroy your auger. Be aware of the location of trees and shrubs, especially tree roots, which often cause serious problems for the earth auger.
2.Dig gently
Go slow and dig small holes if possible. Drilling too deep or moving too fast can result in the auger getting stuck.
Once you have dug it out of the ground, do not try to destroy it by removing the obstacle. Instead, pull the earth auger out carefully, trying to minimize friction.
3.Regular equipment checks
Routine maintenance is the key to preventing equipment failure. Before and after each use, inspect your earth auger for any signs of wear or damage. Check screws, bolts, and mechanical parts for any signs of looseness or deterioration. Make sure all parts are tight and well lubricated and the auger is always sharp.
Conclusion
From simple methods like swinging and rotating to complex methods involving mechanical aids like jacks and winches, BISON hopes you will learn something new.
It's important to remember that freeing a stuck auger requires patience, the right tools, and sometimes professional assistance. Safety should always be paramount when attempting any of these techniques. BISON emphasizes here that preventive measures, and safety measures coupled with a systematic approach are the keys to successfully freeing a stuck auger.
If you're in the market for a reliable, high-quality earth auger that's less likely to get stuck and more efficient in operation, don't hesitate to reach out to BISON. Our team of experts is ready to provide you with the best advice and equipment tailored to your specific needs. Contact BISON today to provide you and your customers with a silky-smooth drilling experience!
FAQs
How to determine the severity of an earth auger blockage?
Slightly stuck auger: In this situation, there is usually minimal resistance when trying to reverse the earth auger or pull up the auger. You may still be able to turn the earth auger with some effort or hear the auger motor running without overheating.
Severely stuck auger: Here, The earth auger will not move despite attempts to rotate or lift it. The motor may stall or stop, indicating that the auger is firmly lodged against an immovable object or compacted soil.
How to remove a stuck 2-Person earth auger?
To free an auger blade that has been stuck, use a pipe wrench or T-handle.
Switch off the auger motor immediately if the auger is stuck in the ground. If a good part of the auger is above ground, you can try rocking the machine back and forth to remove it. Do not apply too much pressure as damage may occur if the auger blades are deep in the ground.
Using the appropriate hand tools, remove the drive unit from the blade unit and set it aside. Use the optional patented T-handle on your model or a pipe wrench with a blade attached.
To remove the auger blade, turn the pipe wrench that is attached to it counterclockwise. It may take several revolutions.
Turn on the engine and reattach the auger blade to the drive unit. To prevent stripping the hole again, keep drilling slowly and steadily.
Share :